DIY Personalized Wire Hangers

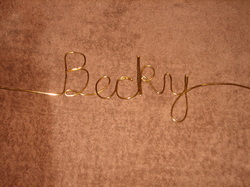
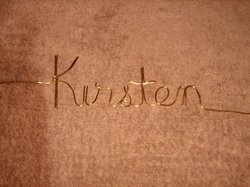
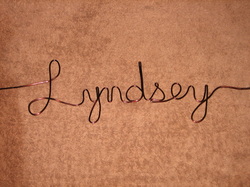
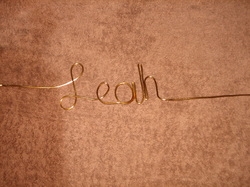
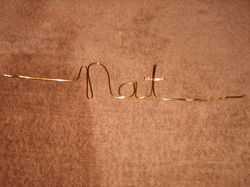
My first DIY project! While I was litterally snowed in I decided to finally start some of my DIY projects. I just have the names done so far and will be attaching them to hangers soon.
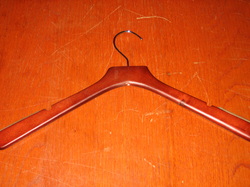
Finished!

I finally finished these hangers the week of the wedding. I had my FIL drill holes in the hangers and hot glued the wires in. The girls loved them. I had my photographers take pics of mine on my dress and will post that when I get them back.
How-To Guide
Supplies:
*12 gauge floral wire (got mine at Micheal's for 3.99 for 5yds (I used two packs including practice)
*Needle Nose pliers
*Wire Cutter
*Wooden Hangers (I got mine from Target)
*Drill
*Glue (Gorilla or super)
1. Unroll some wire so you do not have to uncoil while forming letters. Be sure to leave about 3-4in of wire straight as this will be used to connect wire to hanger
2. Begin to bend wire into letters - remember to use cursive as all letters need to be connected.
3. Use pliers to bend the wire closer together, for example the top of a "i" or "h"
4. When all letters are done, use the wire cutters to cute the wire, again leave about 3-4in for connecting the wire to the hanger
*Remember to put your wire up to the hanger to ensure letters are not too big or small
5. When names are finished use the drill to make holes in the hanger (Line up your name and make a dot with a Sharpie where the wire meets the wood.)
6. Glue wire in
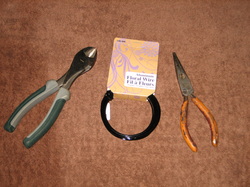
The tools
Links
I used a few websites for how-to guides as well as letter shapes
http://danielleandjoe.weebly.com/diy.html
http://shellchris.weebly.com/diy.html
http://www.enchantedlearning.com/letters/cursiveall.shtml
http://danielleandjoe.weebly.com/diy.html
http://shellchris.weebly.com/diy.html
http://www.enchantedlearning.com/letters/cursiveall.shtml
